The zombie apocalypse is a tough place to survive, and as The Walking Dead has taught us, it’s not always the dead that are the biggest threat. The only way to make it through is together, which is a point driven home by The Walking Dead: March to War.
Disruptor Beam’s take on the build and battle genre is chock full of the studio’s typical storytelling flourishes, and the action plays out in a hauntingly beautiful rendering of the area around what’s left of Washington D.C. It’s here where you start rebuilding some semblance of normalcy, clearing out walkers and gathering supplies so that your band of survivors can grow and even thrive.
It’s no easy task, especially when you throw a bunch of other players into the mix who have their eyes on the same resources and power. But thanks to our carefully compiled The Walking Dead: March to War Tips, Cheats and Strategies, you can at least give yourself an above average chance of prospering in an uncertain new world.
Your Base: A Place to Call Home
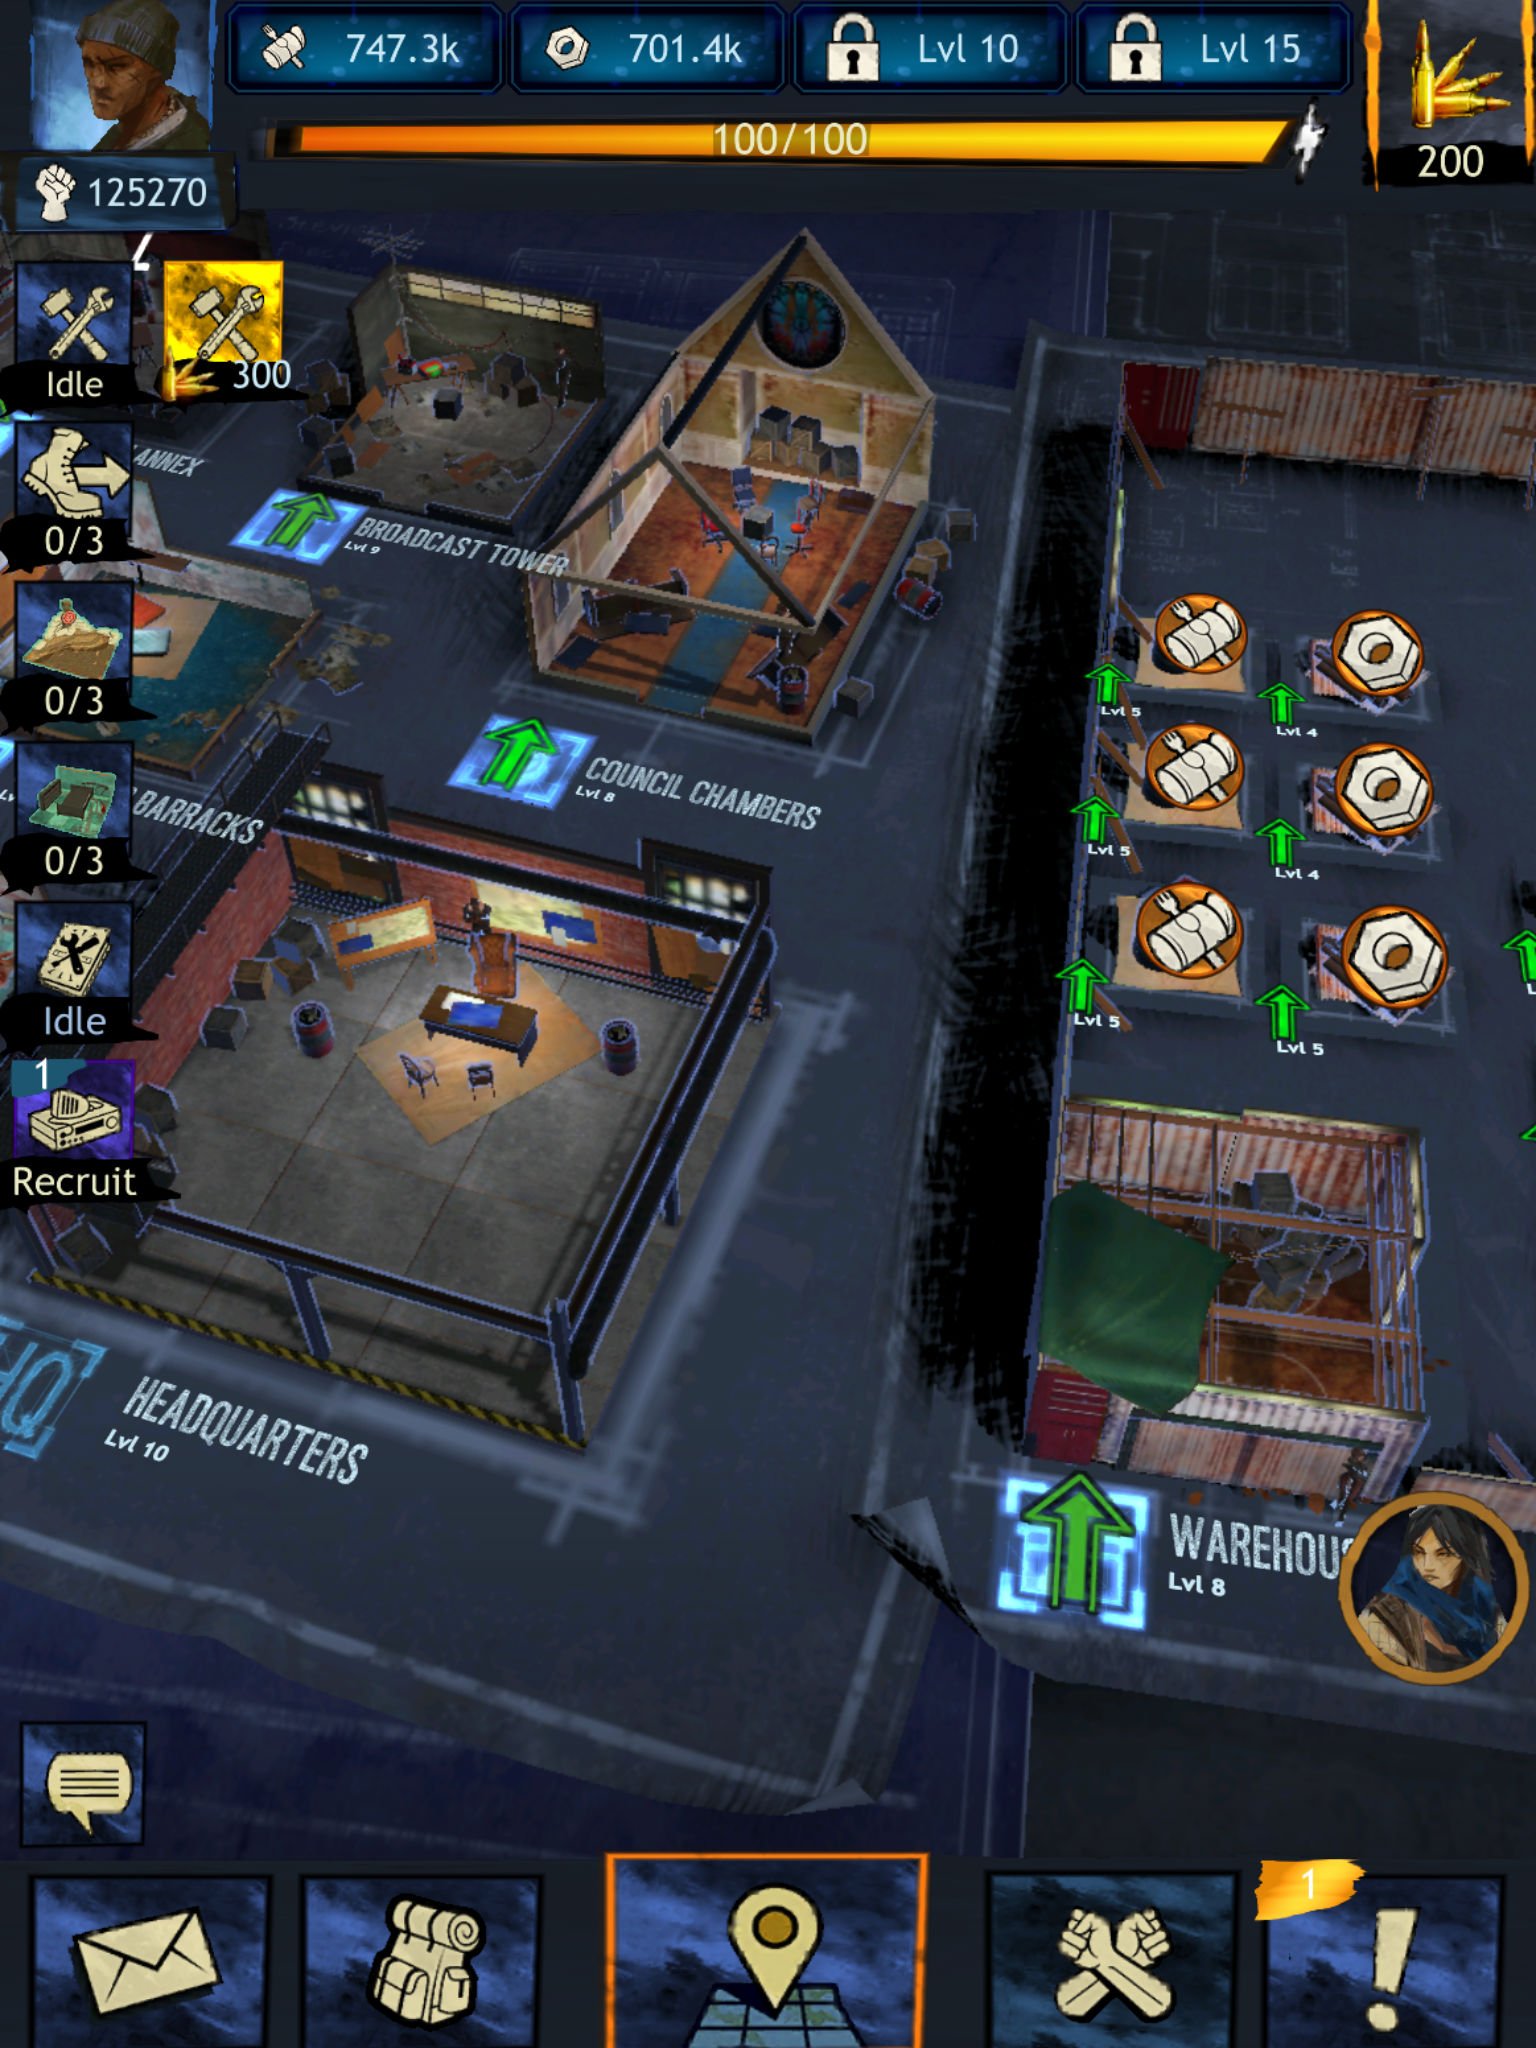
While you may start out your March to War adventure in an RV that may or may not belong to Negan, it’s not long before you and Amira gather others to your cause and start constructing a more permanent base. Within this makeshift fortress of sorts, there are multiple structures, each of which serves a specific purpose:
- Headquarters – The centerpiece of your base, upgrading your HQ permits all other structures to be upgraded to higher levels. Higher level HQs also increase the Fortifications of your base, which is a good thing — if walker or player attacks ever reduce your Fortifications total to 0, your base automatically gets relocated.
- Survivor Barracks – Controls the number of Survivors you can have and the maximum level to which they can be trained.
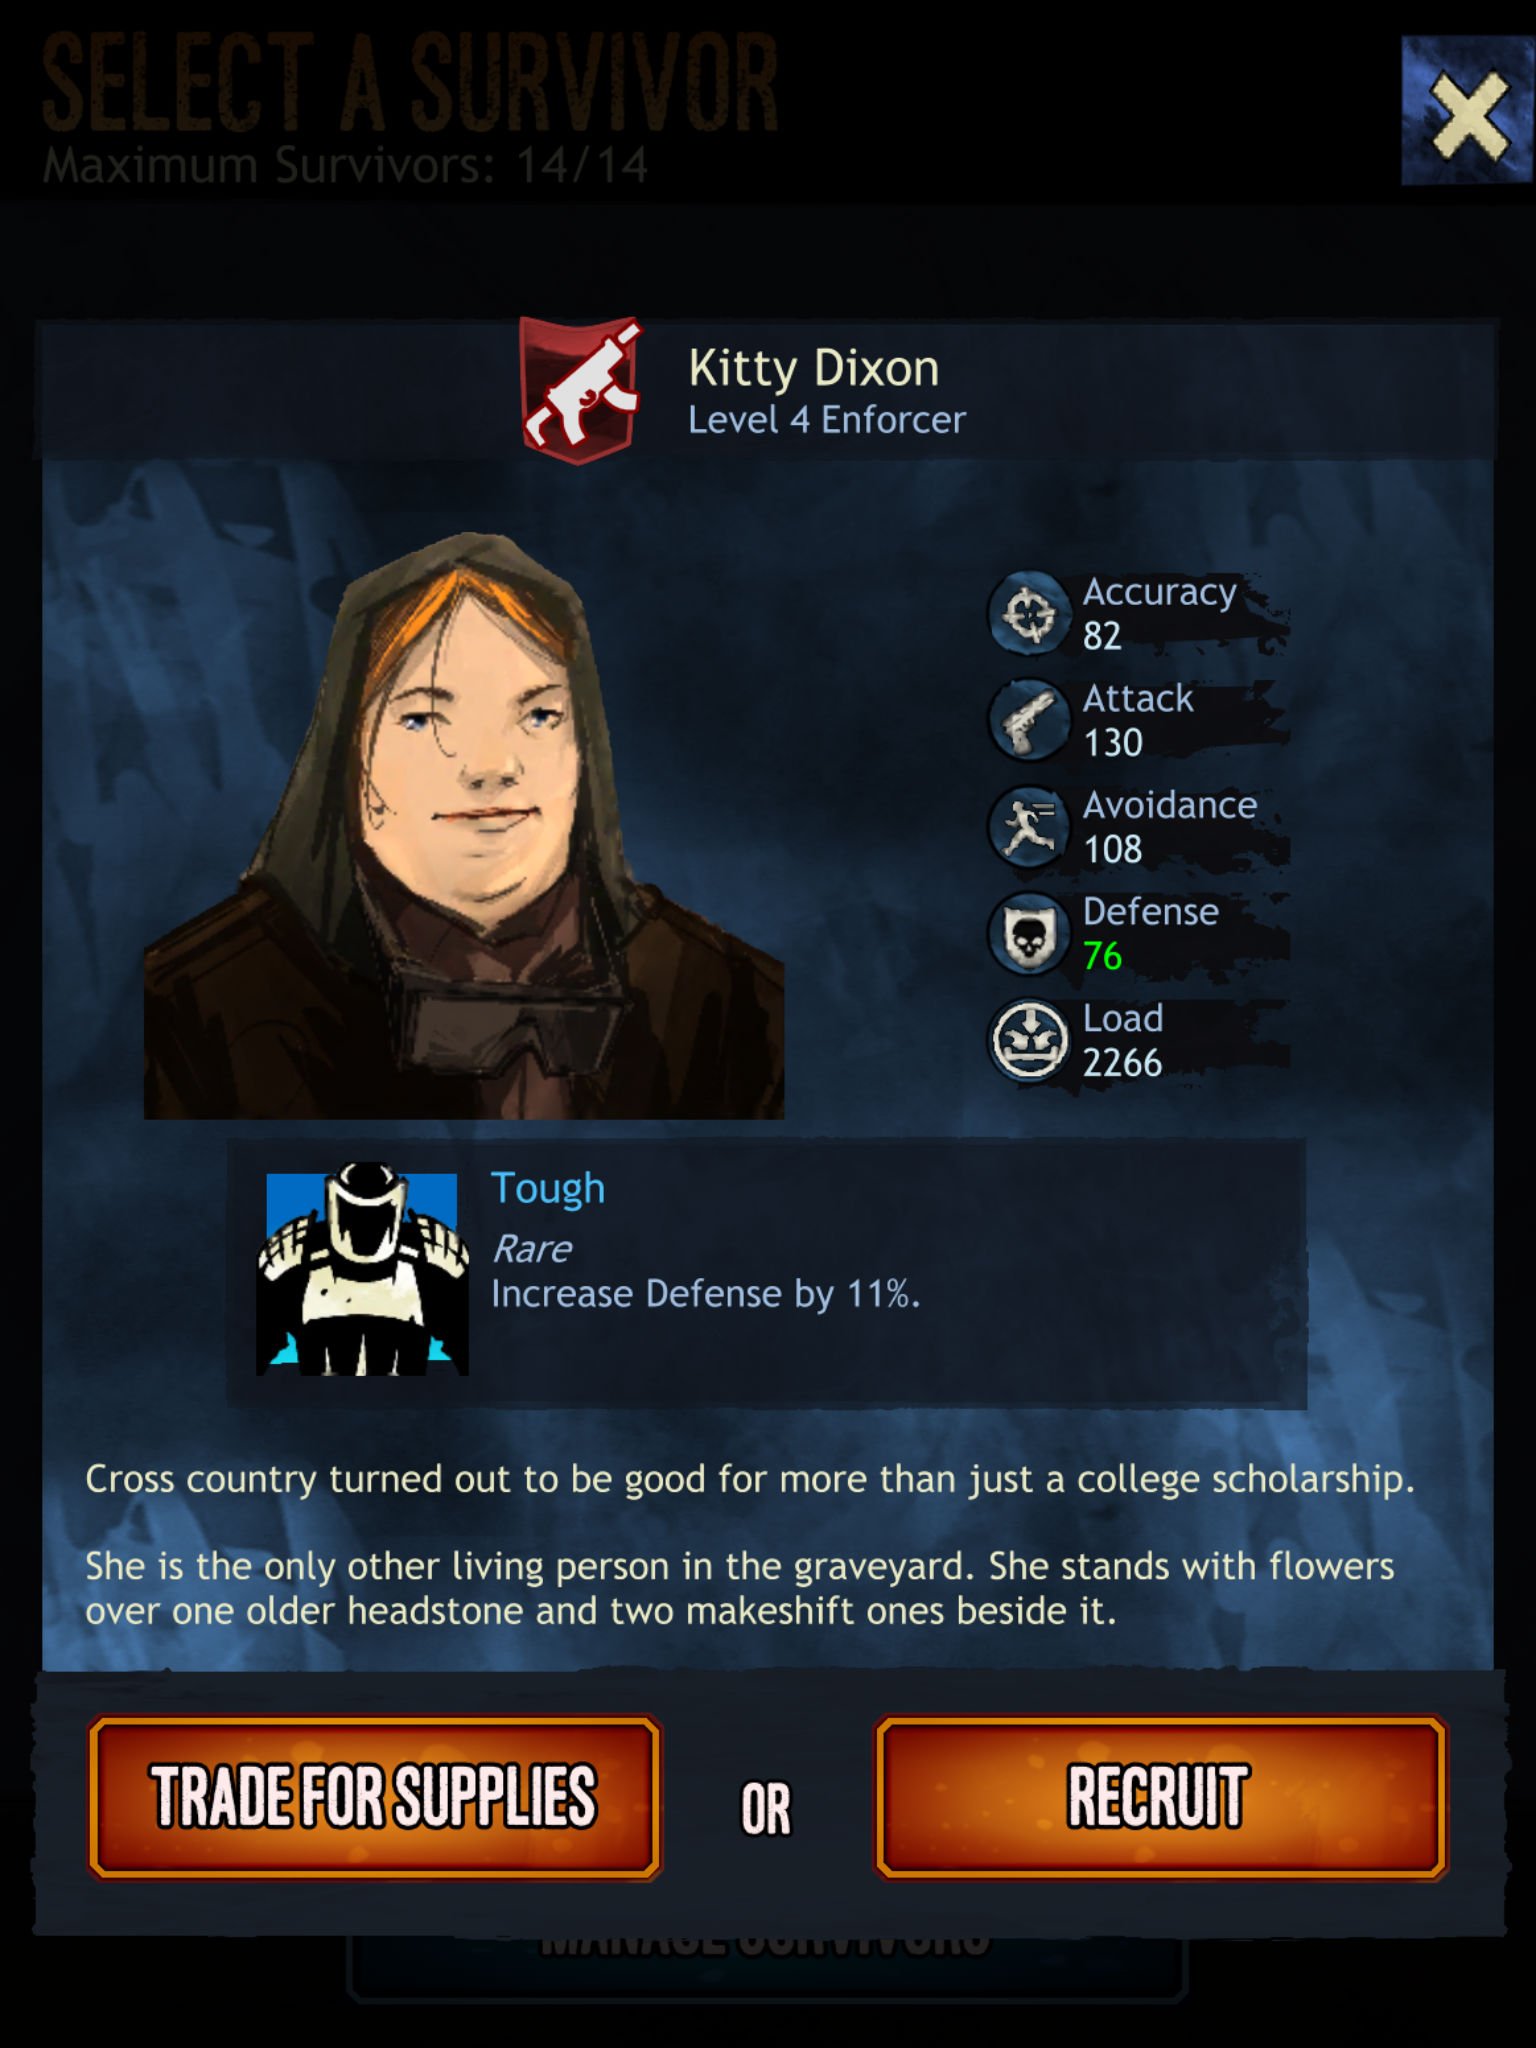
- Broadcast Tower – Allows you to search for Survivors and either add them to your little society or trade them for resources. Leveling up the Broadcast Tower helps you recruit higher level Survivors and search a wider area of land for them.
- Council Chambers – Allows you to level up Council members, who are famous characters from The Walking Dead who lead your raiding and scavenging missions. Tapping the ‘Manage Council’ icon on the Council Chambers lets you see how close you are to adding new Council members to the fold.
- Warehouse – Where your resources — Food, Salvage, Lumber and Fuel Pallets — are stored. Upgrading the Warehouse increases the number of Pallets early on, and then increases the amount of each resource protected from raids by other players later on.
- Research Annex – Allows you to research a wide variety of boosts that increase effectiveness or reduce the time needed for specific tasks. Some research can only be unlocked once the Research Annex hits a certain level.
- Community Center – If you join a Community (which is the March to War equivalent of a guild), upgrading your Community Center allows more of your teammates to reduce the wait times on your research, construction and healing projects.
- Range – Used to train Survivors and Council members; upgrading a Range increases the speed of training and reduces the cost.
- Infirmary – Same as a Range but used for healing instead of training.
To upgrade any structure in your base, simply tap on it once, then tap on the ‘Upgrade’ button. You’ll be shown what pre-requisites are needed (in red if you haven’t fulfilled them yet), plus the resource cost and the time the upgrade process will take. If all is in order, just tap the ‘Upgrade’ button and you’re on your way to a better structure. You can also pay bullets, the game’s premium currency, to do an instant upgrade if you have enough of them.
Bonus Tips: Normally, you can only build or upgrade one structure at a time. However, you can also spend 300 bullets to temporarily buy a second builder so you can work on two projects at once. Also, don’t forget to check your inventory for items that can be used to speed up the building process. Once you get under 10 minutes of time remaining, you can finish any building project instantly for free.
I’m a Survivor, I’m Gonna Make It, I Will Survive, I’m a Survivor
(With props to Destiny’s Child for that.)
Council Members are great, not just because they are characters you know and (mostly) love from The Walking Dead, but also because they lead your raid parties so you can’t do much without them. That said, Survivors are the backbone of your efforts to make a home and a name for yourself in the post-apocalypse landscape.
Survivors have four core stats that dictate their effectiveness in different situations:
- Attack – Determines the damage done to enemies.
- Defense – Determines the amount of enemy damage the Survivor can absorb.
- Accuracy – Dictates the chance that the Survivor will deal damage to an enemy.
- Avoidance – Controls the chance of the Survivor avoiding enemy damage altogether or lowering accuracy.
There are four classes for Survivors, each of which is strongest in one of the core stats and weakest in another:
- Enforcer – Strongest in Attack, weakest in Defense.
- Guard – Strongest in Defense, weakest in Accuracy.
- Sniper – Strongest in Accuracy (duh!), weakest in Avoidance.
- Scavenger – Strongest in Avoidance, weakest in Attack.
A few other numbers are important to keep in mind for Survivors. Health is pretty obvious, and when it gets to zero, the Survivor dies (and then turns into a walker, probably). Power is a measure of how much the Survivor contributes to your player score. And Load is the stat that determines how much the Survivor can carry when sent on a scavenging run. Any or all of these numbers can increase any time a Survivor levels up.
Last but not least, every Survivor has Talents — one when first recruited and others upon hitting certain levels. Talents provide bonuses to certain stats, though sometimes only when faced with specific conditions or on certain kinds of missions. Talents are randomly generated and come in different rarities that suggest how big their bonuses will be.
Bonus Tip: Since you can use the Broadcast Tower 50 times per day, don’t settle for just any Survivor. Even if you only have one spot to fill, search for Survivors repeatedly until you find the class you want and with a rarer Talent if at all possible.
Scavenging and Missions: Your Ways to More Resources
The Pallets in your base gradually give you more resources over time, but as the cost of doing everything in The Walking Dead: March to War rises as you go, you’re going to need more than what your Pallets alone can provide. Yes, even though it’s a scary world filled with walkers and hostile humans alike, you’re going to have to set out into the world.
Both missions and scavenging runs can help. The former is a quick, out and back trip to either clear out walkers or look for resources, while the latter is a long-term commitment where your Survivors will remain in a single location loading up on a single resource. Both have their purposes but need to be approached slightly differently.
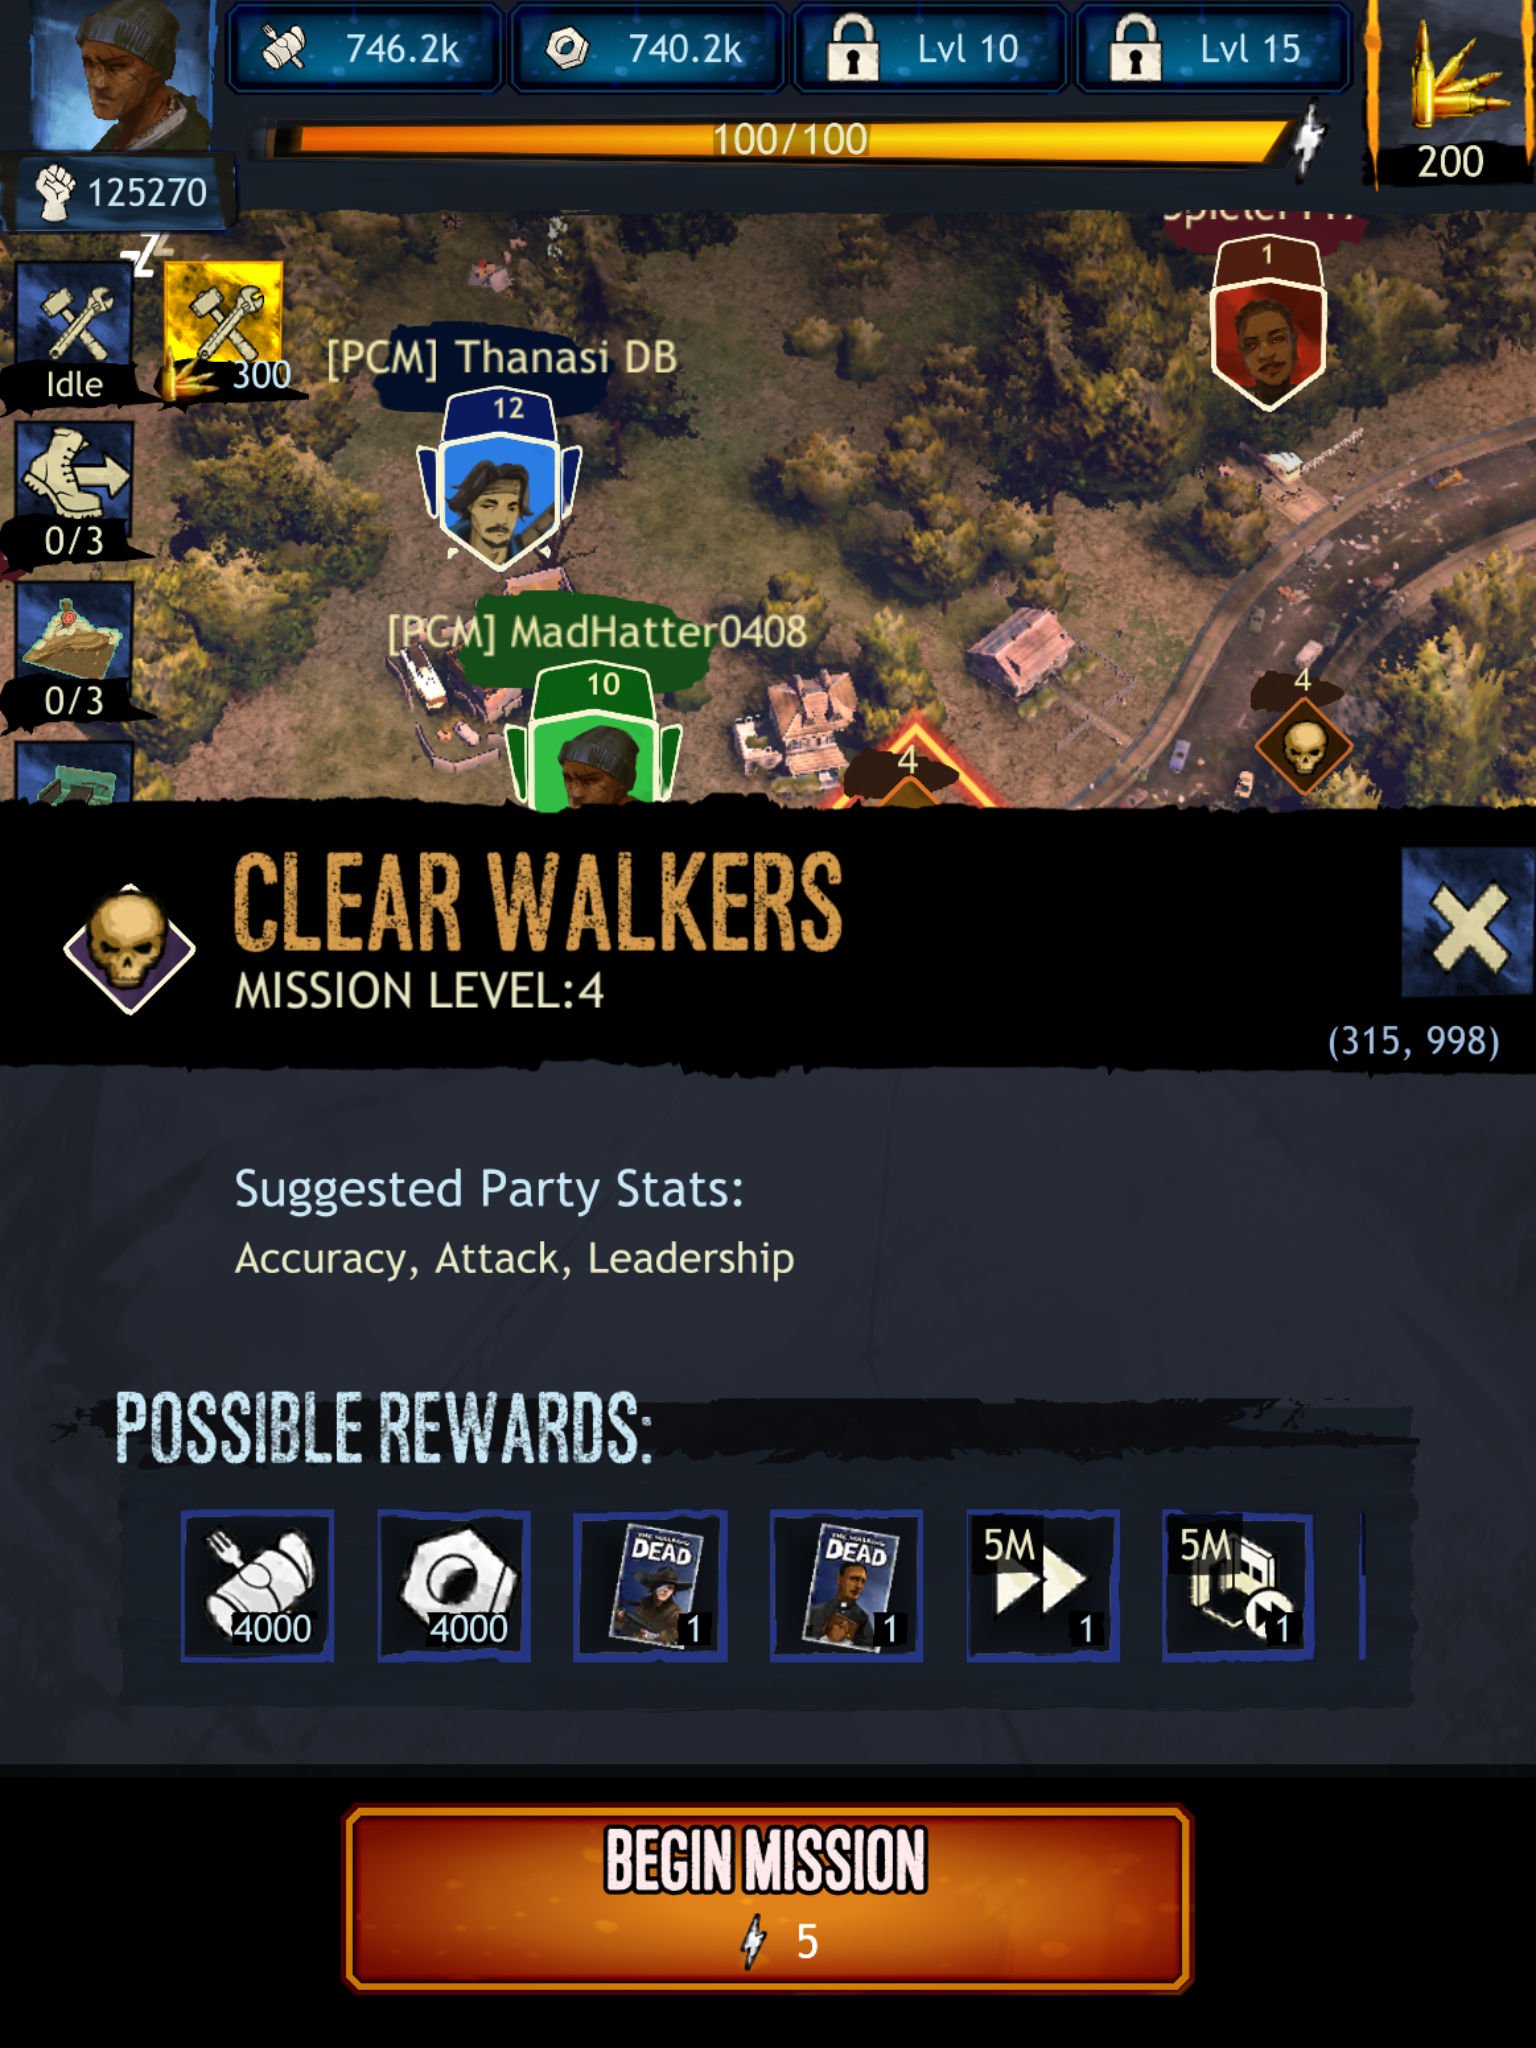
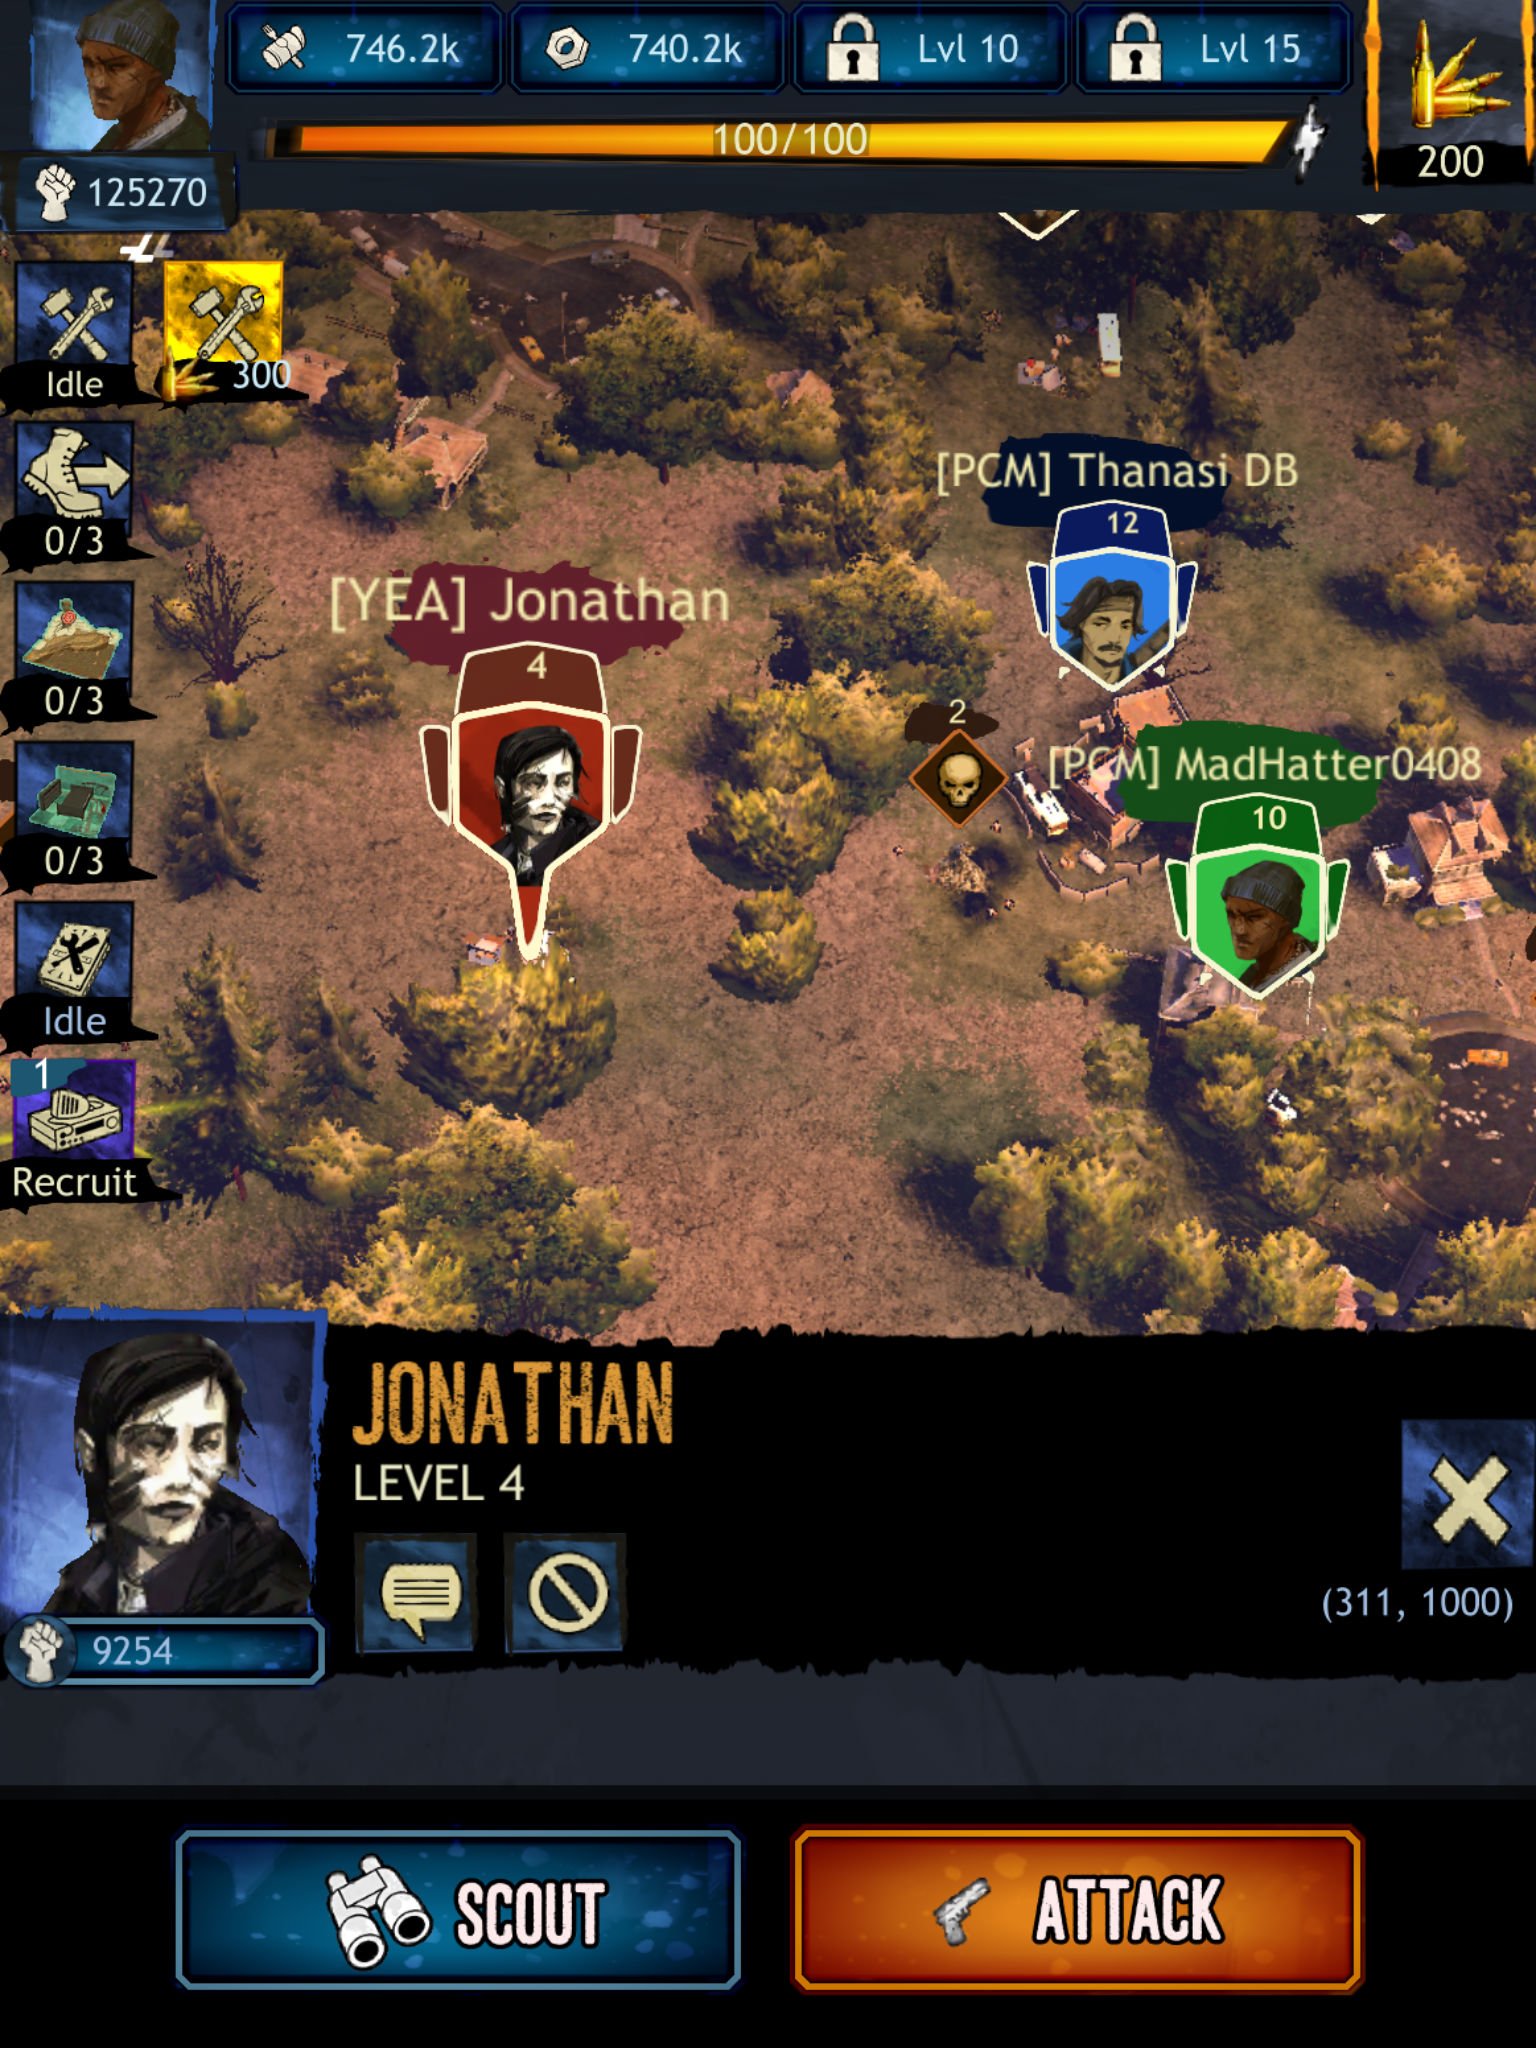
For missions, the number under the symbol on the map (a skull for walker clears and a box for supply runs) tells you the relative difficulty of successfully completing the mission. The rewards are greater for tougher missions but you’ll need to send more and better trained Survivors to pull them off.
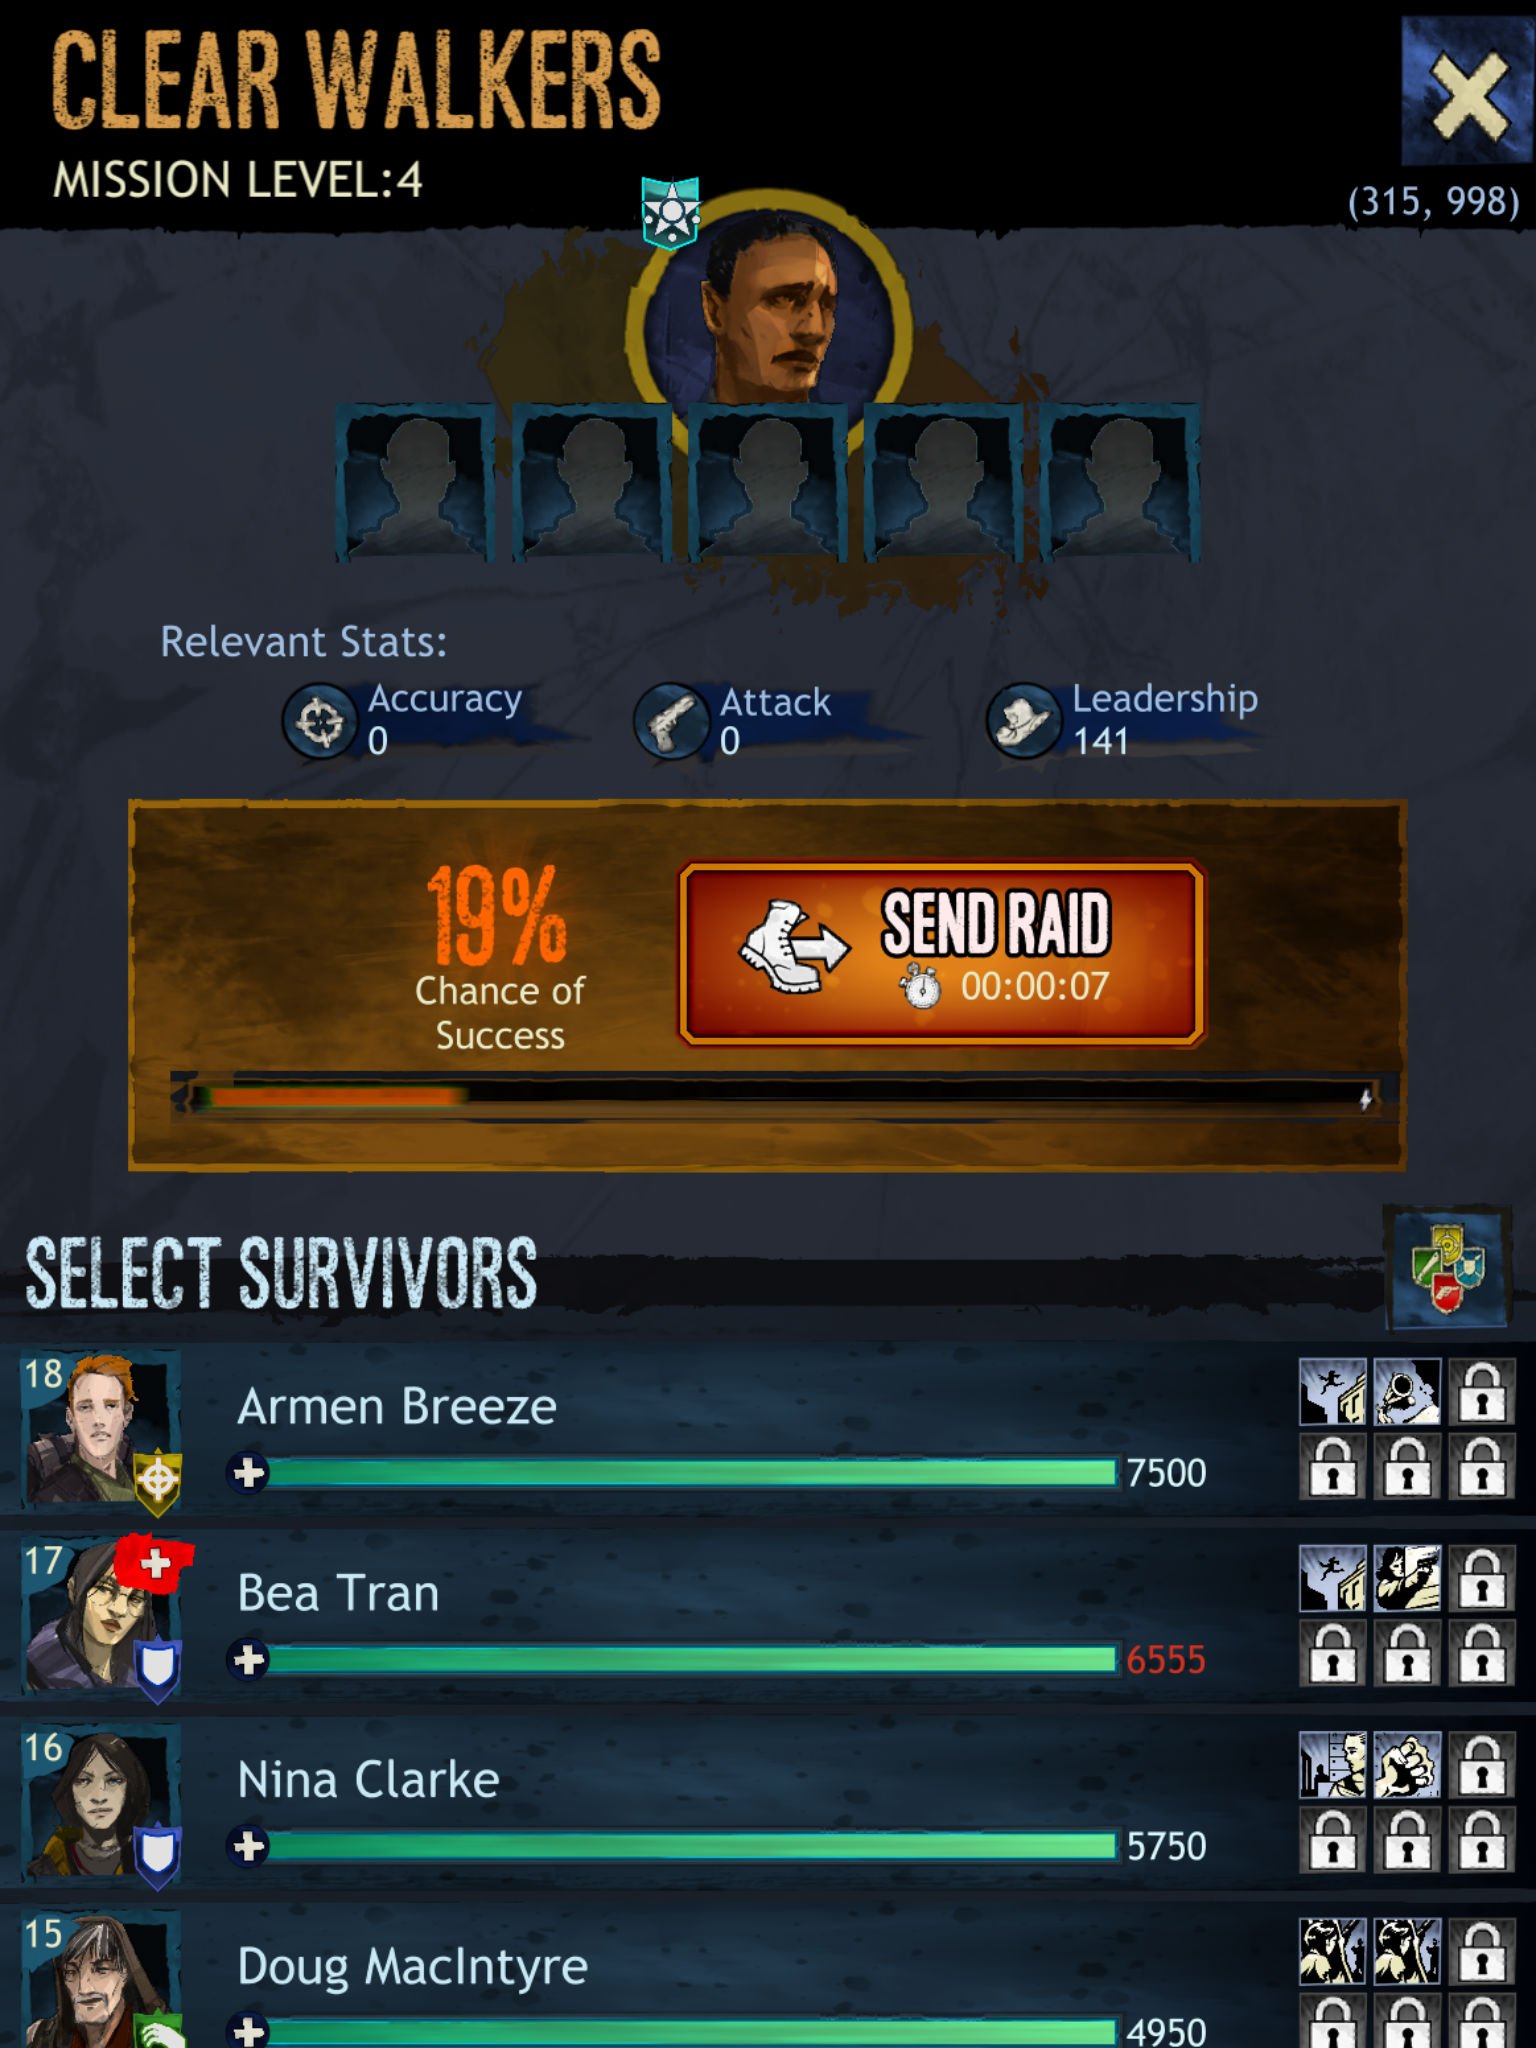
One nice thing March to War does is tell you which stats are most important for a mission and the possible rewards you could gain. Then you simply tap on a Council Member and fill his or her team up with as many as five Survivors. You can see how your chance of success changes by adding or swapping different Survivors, which is very helpful before you actually launch the mission.
For scavenging runs, you won’t encounter any resistance so the number indicates how much of that resource is at that location. If you have enough total Load among the Survivors you send, you can loot everything there, but the more you acquire, the longer it will take until the scavenging is done. Some scavenging runs can take hours to fully complete.
Raiding parties on scavenging runs can be attacked by walkers or other players’ raiding parties while they are busy, so be sure to have some Enforcers or Guards mixed in with your Scavengers.
Bonus Tip: Don’t need to scavenge every last bit from a resource node? You can call back your raiding party before it’s fully loaded up if you need the group back at base.
PvP Play: Scouting, Attacking and More
Even if the leader of your Community is an ace diplomat, you’re going to run into times when you need to attack other players. It’s almost inevitable in the world of The Walking Dead.
It’s not hard to launch an attack on another player’s base. Simply tap on the base and tap the ‘Attack’ button and you’ll see an interface similar to the one you have when starting a mission. Pick your Council Member and Survivor and send the group on its way.
Battles are basically large comparisons of stats between the attacking party and the defenders at the base. While both groups will see their Survivors take damage (and some might be badly wounded enough that they need to have triage performed on them or they will die), if the attacking player wins, his or her group will return to its base with as many resources as they can carry. The defender takes damage to their Fortifications total, which could lead to a forced relocation if it’s reduced to zero, and loses any resources above the total their Warehouse can protect.
If the defender wins, his or her base takes no Fortifications damage and loses no resources. The attackers? Well, they more or less limp back to nurse their wounds.
For those who don’t like uncertainty, you can also send a scouting party to check out an opposing player’s base before launching an attack. Scouting doesn’t require a Council Member and generally is quicker than any other kind of action. Scouting will tell you how many Survivors a base has present (and what kind), what Council Members are around, how many resources are in their current stores and a base’s total defense power. On the down side, the owner of the base is also alerted to the fact that you scouted them, which could cause them to recall Survivors out on scavenging runs and make the base a tougher target. Those are the risks you take.

